


 Forums Forums
StrategyFirst.com

|
 |
O.R.B. Environment Tutorial |
|
|
Adding a Light Source (Sun)
Again in the top menu bar, go into Environment and then click Sun.
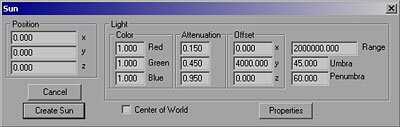
Position is pretty self explanatory; it is the X/Y/Z positional value of the sun.
Light has a few more options: Color is the emitting color, Attenuation is similar to a saturation level, the lower the number, the softer and more spread out the color will be on objects, the higher it is the more the objects are tinted. Offset will offset the light itself from the actual position of the sun. If you give 4000 in the Y value, your light will actually be emitting from 4000 units above the sun�s position.
Range determines how far the rays of light will travel.
The Properties button will bring up a dialog to modify the sun�s size and image.
For this tutorial, you can just keep the default values.
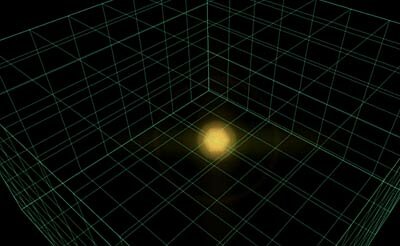
You should now have something similar to the image above. Right now, that sun is right in the middle of our world, this is fine if you want a map where the sun is an object that you wish to avoid, you could make a whole micro system with orbiting planets and such. For this Tutorial, we will leave the Sun out of our playable area, giving us more space for crazy asteroid belts.
Now go to the 2D map mode again. Once in the Map mode, Press and hold CTRL-SHIFT-ALT, move your mouse cursor over the sun, then press and hold down the left mouse button. If you now move your mouse cursor you will move the sun itself, but you won�t see the sun move until you release the left mouse button.
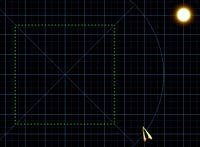 |
Try moving the Sun into this position.
Once you get this done, you can save your map by going to File > Save as and save your file under the name you want.
Next, let�s start putting some objects into the world.
|
|
|
|
|
|
Copyright © 2002 Strategy First Inc. All Rights Reserved.
|
